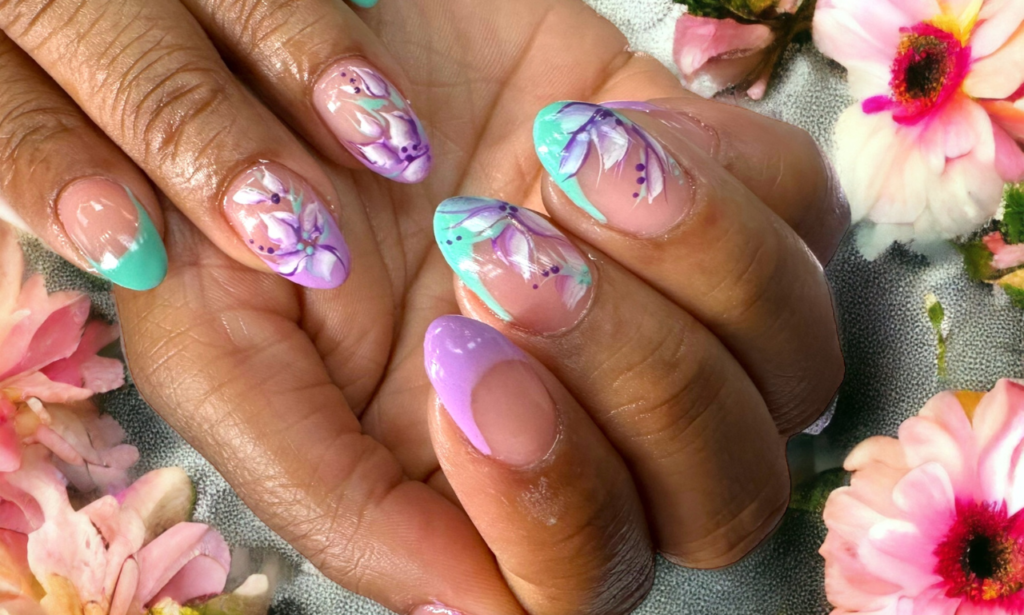
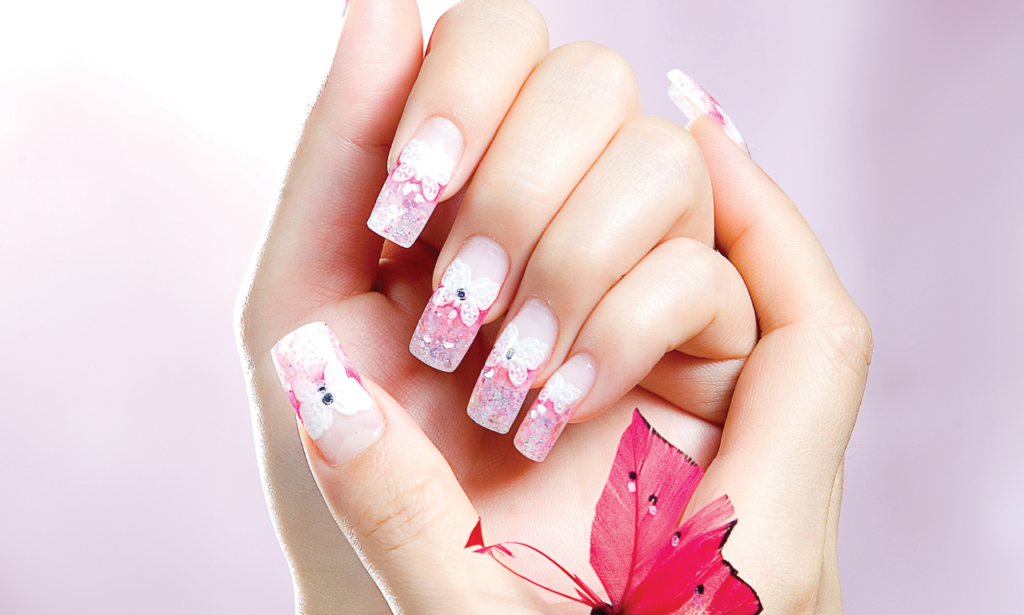
If you’ve ever spent time meticulously painting your nails, only to smudge them before they dry, you’re not alone. Smudging nail art can be frustrating, but there are ways to fix it without starting over from scratch. In this guide, we’ll explore quick and easy methods for repairing smudged nail art and preventing future mishaps.
Introduction to Smudged Nail Art
Explanation of the common problem of smudged nail art
Smudged nail art occurs when the polish hasn’t fully dried before coming into contact with something, resulting in smears, streaks, or other imperfections.
Overview of the importance of fixing smudged nail art quickly
Fixing smudged nail art promptly is crucial to achieving a flawless finish and maintaining the integrity of the design.
Also Read: Nail Art Inspiration Online
Assessing the Damage

Steps for assessing the extent of the smudging
Carefully examine the smudged area to determine the severity of the damage and whether it can be fixed with minor touch-ups or requires more extensive repair.
Identifying whether the smudging is minor or requires more extensive repair
Minor smudges may only require minor adjustments, such as smoothing out the polish with a clean brush or applying a thin layer of top coat to blend the colors.
Quick Fixes for Minor Smudges
Techniques for fixing small smudges without redoing the entire nail
Use a clean brush dipped in nail polish remover to gently remove the smudged polish, then carefully touch up the affected area with fresh polish.
Tips for smoothing out minor imperfections and restoring the nail art
Apply a thin layer of top coat over the smudged area to help blend the colors and create a smooth, even finish.
Repairing Larger Smudges
Strategies for addressing larger smudges or mistakes that affect the entire nail
If the smudging is more extensive, carefully remove the polish from the affected nail using nail polish remover, then repaint the nail from scratch.
Step-by-step instructions for repairing smudged nail art with precision
Start by applying a base coat to protect the nail, then carefully repaint the design, taking care to match the colors and patterns as closely as possible to the original.
Preventive Measures
Tips for preventing smudges and mistakes during the nail art process
Allow sufficient drying time between layers of polish, use quick-dry top coat to speed up the drying process, and avoid touching or bumping your nails until they are completely dry.
Recommendations for ensuring a flawless finish every time
Practice patience and precision when applying nail polish, and consider using tools like nail art brushes or dotting tools to create intricate designs with ease.
Also Read: Nail Art on Short Nails
Alternative Solutions

Exploring alternative methods for fixing smudged nail art, such as nail wraps or stickers
Nail wraps or stickers can be used to cover up smudged areas or add decorative elements to the nail art design, providing a quick and easy solution for minor imperfections.
Comparing the pros and cons of different approaches to repairing nail art
Consider the cost, convenience, and durability of each method before deciding on the best solution for your specific needs.
Nail Care After Smudge Repair
Guidance on caring for nails after fixing smudged nail art
Apply a layer of top coat to seal in the repaired nail art and protect it from chipping or fading.
Tips for maintaining the repaired nail art and preventing future smudging
Avoid activities that may damage your nails, such as excessive hand washing or exposure to harsh chemicals, and use gloves when performing household chores or gardening.
Seeking Professional Help
Advice on when to seek professional assistance for fixing smudged nail art
If you’re unable to fix the smudging on your own or if the damage is extensive, consider visiting a nail technician or salon for professional repair services.
Information on nail technicians or salons that offer nail repair services
Research local nail salons or beauty spas that specialize in nail care and inquire about their nail repair options and pricing.
FAQs About Fixing Smudged Nail Art
What should I do if my nail art smudges immediately after application?
If you notice smudging while the polish is still wet, carefully wipe it off with a cotton swab dipped in nail polish remover and start over.
Can I fix smudged nail art without removing the polish?
Yes, minor smudges can often be fixed with minor touch-ups or by applying a layer of top coat to smooth out the imperfections.
How long does it take for smudged nail art to dry completely?
The drying time for nail polish varies depending on the formula and the number of coats applied, but it typically takes 1-2 hours for nail polish to dry completely.
Will fixing smudged nail art damage my nails?
Properly fixing smudged nail art should not cause any damage to your nails, but be careful not to over-manipulate the polish or apply too much pressure when making repairs.
Are there any home remedies for fixing smudged nail art?
Some people find success using household items like toothpaste, hairspray, or cooking spray to fix smudged nail art, but these methods may not work for everyone and could potentially damage the nails if not used correctly.
Conclusion
Don’t let smudged nail art ruin your perfect manicure. With the right techniques and a little patience, you can easily fix smudges and restore your nails to their former glory. Remember to take preventive measures to minimize the risk of smudging in the future and enjoy beautiful, flawless nail art for every occasion.

