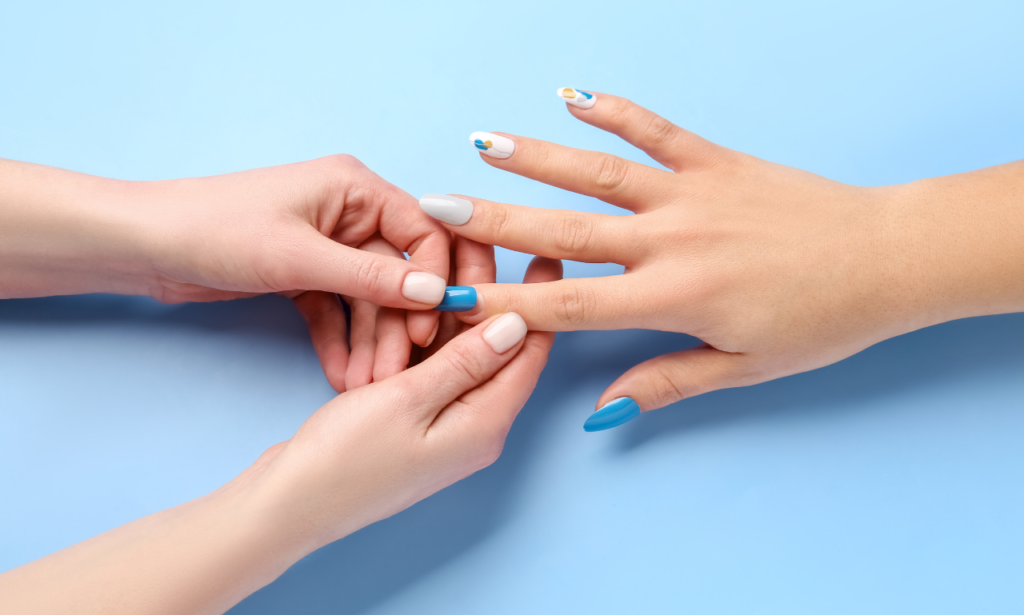
If you’ve ever indulged in acrylics or press-on nails, you know the instant glam they can provide. However, when it comes time to remove Remove Acrylics and Press-On Nails, it’s essential to do it properly to avoid damaging your natural nails. Improper removal can lead to weakened nails, infections, and other complications. Let’s explore the right way to bid farewell to your temporary nail enhancements.
Understanding Acrylics and Press-On Nails

What are Acrylics Nails?
Acrylic nails are artificial enhancements made by combining a liquid monomer with a powdered polymer to create a durable overlay on your natural nails. They’re popular for their strength and longevity, but removal can be tricky if not done correctly.
What are Press-On Nails?
Press-on nails are pre-designed artificial nails that adhere to your natural nails using adhesive tabs or nail glue. They offer a quick and easy way to achieve a manicured look without the commitment of acrylics or gel nails.
The Risks of Improper Removal
Removing acrylics or press-on nails incorrectly can result in various risks to your nail health, including:
- Damage to Natural Nails: Aggressive removal methods can strip away layers of your natural nails, leaving them weak and brittle.
- Risk of Infection: If not properly sanitized or removed, leftover adhesive or acrylic residue can create a breeding ground for bacteria and fungi, leading to infections.
- Allergic Reactions: Some individuals may develop allergic reactions to the chemicals present in acrylics or nail adhesives, resulting in redness, itching, or swelling.
Step-by-Step Guide to Remove Acrylics and Press-On Nails
Supplies Needed:
- Acetone-based nail polish remover
- Cotton balls or pads
- Aluminum foil
- Nail file
- Cuticle oil or moisturizer
Soaking Method for Acrylic Nails:
- Prepare Your Nails: Use a nail file to gently file the top layer of the acrylic nails to break the seal.
- Soak Cotton Balls: Soak cotton balls or pads in acetone-based nail polish remover.
- Wrap Nails: Place a soaked cotton ball on each nail, then wrap them tightly with aluminum foil to secure.
- Wait: Allow the acetone to soak into the acrylic nails for 15-20 minutes.
- Remove Wraps: After soaking, gently remove the foil wraps and wipe away any remaining acrylic residue with a cotton pad.
- Moisturize: Apply cuticle oil or moisturizer to nourish your nails and surrounding skin.
Gentle Removal for Press-On Nails:
- Peel Off Carefully: If your press-on nails are starting to lift, gently peel them off from the sides. Avoid pulling or tugging to prevent damage.
- Soak Remaining Adhesive: For stubborn adhesive residue, soak your nails in warm, soapy water for a few minutes to loosen it.
- Gently Buff: Use a soft buffer to gently buff away any remaining adhesive residue, taking care not to damage your natural nails.
- Moisturize: Finish by moisturizing your nails and cuticles to replenish lost moisture.
Aftercare Tips

After removing acrylics or press-on nails, follow these aftercare tips to promote nail health and recovery:
- Nail Strengthening Treatments: Use nail strengtheners or treatments to restore strength and resilience to your natural nails.
- Moisturizing and Hydrating Nails: Keep your nails and cuticles hydrated by regularly applying cuticle oil or moisturizer.
- Allowing Nails to Rest: Give your nails a break from artificial enhancements to allow them to recover and grow stronger.
Also Read: Nail Strengthening Treatments: Strengthen Your Nails Naturally and Effectively
Common Mistakes to Avoid
To ensure a safe and effective nail removal process, avoid the following common mistakes:
- Using Forceful Methods: Avoid using forceful methods such as prying or pulling, as this can cause unnecessary damage to your natural nails.
- Skipping Aftercare: Neglecting aftercare can prolong the recovery process and leave your nails vulnerable to damage or infection.
- Overlooking Signs of Damage: Pay attention to any signs of damage or discomfort during the removal process and seek professional help if needed.
Conclusion
Properly removing acrylics or press-on nails is essential for maintaining the health and integrity of your natural nails. By following the step-by-step guide and aftercare tips outlined above, you can safely bid farewell to your temporary nail enhancements and ensure your nails remain strong and healthy.
FAQs
- Can I remove acrylics or press-on nails at home?
- Yes, you can remove acrylics or press-on nails at home using the proper removal techniques outlined in this article. However, if you’re unsure or encounter any difficulties, it’s best to seek professional assistance.
- How long does it take to remove acrylic nails using the soaking method?
- The soaking method for acrylic nail removal typically takes around 15-20 minutes, depending on the thickness of the acrylic and the effectiveness of the acetone.
- Can I reuse press-on nails after removing them?
- Press-on nails can be reused if they’re still in good condition after removal. Clean any adhesive residue and store them properly for future use.
- Is it normal for my nails to feel sensitive after removing acrylics?
- It’s common for nails to feel sensitive or weak after removing acrylics, as the removal process can strip away layers of the natural nail. Be gentle with your nails and give them time to recover.
- How often should I moisturize my nails after removing acrylics or press-on nails?
- Moisturize your nails and cuticles daily, especially after removing acrylics or press-on nails, to replenish lost moisture and promote nail health.

